We invite you on a journey to discover a curated collection that captures the essence of seaside living, from nautical-inspired fashion to home decor that echoes the rhythm of the ocean waves. Every visit is a celebration of Cape Cod's unique allure. Join us in embracing the spirit of coastal living and uncover the treasures that make Cape Cod more than a destination – it's a lifestyle.
Cape Cod Potato Chip Bark popped into my head on the way home from work one cold, dark rainy Cape Cod evening. (What is it about shorter days and dropping temperatures that makes me crave chocolatey confections?) The night before I was inspired to make Cape Cod S'mores Bark and I knew from the reception it had received that a sequel was in order. But how do you top S'mores Bark? And that's when it hit me, chocolate covered potato chips!
Love at First Bite
I first tasted chocolate covered potato chips about 10 years ago at a food show Joe and I attended. The two of us had to be asked to leave the booth. Never before had we experienced such an unearthly combination of salty and sweet. And we had to be careful not to experience it again too soon. The fact that potato chips aren't allowed in our house 362 days a year didn't give me pause as I headed on towards our neighborhood grocery store for the only chips worthy of what I was planning, our island's very own Cape Cod Potato Chips.
Just 2 ingredients, a half sheet pan, and a piece of parchment paper
If you've never made chocolate bark before, the most dangerous part to consider is how is easy it is to make, because you may start making bark morning, noon, and night. Once you've decided on your potato chips, choose your favorite chocolate for melting. After indulging in milk chocolate in our S'mores bark the night before, I decided our potato chips would be complemented by a luscious dark chocolate. I happened to have Dark Chocolate Candy Melts on hand which are perfect for making bark because they are ideally suited to melting. You can use chocolate bars or chips, too. In fact, chocolate bars are super for making bark. If you use chocolate chips, you may want to add a little shortening to make it smoother.
Melt over a double boiler
Before you get melting, it's important to prepare your potato chips. I poured out about 1/3 of the bag for crushing into small pieces. Use cellophane or a baggie to keep your hands from getting greasy. Also make sure you have a sheet pan lined with parchment paper waiting in the wings. I found that a quarter sized sheet pan (9" x 13") was the perfect size for this recipe.
Now you're ready to start melting. I like melting my chocolate using a double boiler made from a stainless steel bowl sitting on top of a simmering pot. It's more hands-on than using a microwave and there's less mystery or risk of wrecking the chocolate. Plus, I love stirring and inhaling chocolate. Once your chocolate is melted, mix in your crushed potato chips and thoroughly coat them.
Then spread the coated chocolate-potato chip mixture into your parchment-lined sheet pan. At this point I decided I wanted to add another layer of chocolate because I planned on sprinkling more chips on top and it looked like they needed a little more to sink into. So it was back to the double boiler with another cup of chocolate melts.
Spread your next layer of chocolate and then sprinkle with more crushed chips. Push the chip-chips into your top layer, then head for the refrigerator. In less than 1/2 and hour, your bark is ready to break apart into servings. I chose to slice my bark into small pieces so that I could put them in little cups to give out to customers during our Christmas Open House.
You can leave your bark in an air-tight container for several days, but most likely it won't last that long! For a printable, easy-to-follow recipe click HERE.
It's Spring on Cape Cod and it's this time of year that our shelves start to swell up again with lots of great gadgets and inspirational tools for your kitchen. Some kitchen basics that we must have in stock this time of year center upon eggs, herbs, cocktails, and pizza: the basics.
Eggs
Eggs are incredible. For years we've been told to be wary, don't eat the yolks, blah, blah, blah. But the truth is, eggs are a super food, and the best way to start your day {unless you're allergic}. Do you remember the Incredible Edible Egg Jingle? We'll they've made a new one, and it's pretty funny. You can listen to it here:
One of our preferred ways to eat eggs is poached. It's so easy to make a perfectly poached egg with the RSVP Endurance Egg Poacher Sets. The best thing about these stainless steel egg poacher pans is they do double duty as sauce pans and saute pans, while having the added bonus of egg poacher inserts with easy-to-remove handles and trays. So you can have your eggs (and YOLKS) and enjoy them too, because they're good for you!
Herbs are becoming more and more popular, and more legal too. Spring is a great time to start planning your herb garden. Whether you have a simple windowsill or a fancy kitchen garden with all the trimmings, fresh herbs at your fingertips add fantastic flavor to your cooking. Last year we sold hundreds of RSVP Herb Scissors for good reason: they work great! Unlike regular scissors, these Herb Shears have 5 stainless steel blades that will cut fine pieces of herbs right where you want it without the need of a cutting board and knife. And they won't bruise your tender herbs, because herb bruising is just wrong.
Cocktails are fun. Yes, indeedy. Fun. Fun to make, fun to drink, and fun to share. One tool that every cocktail connoisseur should not be without is the RSVP Stainless Steel Muddler. Perfectly suited to making flavorful Mojitos, this Stainless Steel Muddler also works to crush ice, and more importantly, release and meld the fullest flavors for all of your favorite, classic cocktails. And since this muddler is made of Stainless Steel, it won't hold on to odors and contaminate the flavors you want to accentuate. We have a hard time keeping these handy Muddlers in stock - they are so popular with our cocktail-loving clientele.
While Pizza is arguably NOT a super food, it is super. A certain person we know and love would just assume eat pizza morning, noon, and night, much to the chagrin of her parents. Pizza is arguably the most addicting delicious food to make on a Friday night. Yes, I said "make", not buy. Making your own fresh pizza at home costs pennies and comes out hot-from-the-oven, not luke-warm from the insulated bag after a turbulent 30 minute drive through traffic. Pizza making is a family activity worth savoring, in more ways than one.
Both of these tools are better than your average pizza making gear. The Stainless Steel Spatula is a versatile and sturdy gadget for transferring all kinds of goodies from the table to the oven or vice versa. You can even use it to remove cakes and pies from the oven. The Stainless Steel Pizza Cutter lets you rock right across your pizza in one fluid motion without crushing your tender toppings. And it also works great to chop veggies and transfer them from cutting board to cookware.
Come in tomorrow and check out the fresh new products arriving daily that will put a spring in your cooking and entertaining this year. Or shop online at LaBelle's General Store. And check out our recent finds below for some additional spring-time inspiration.
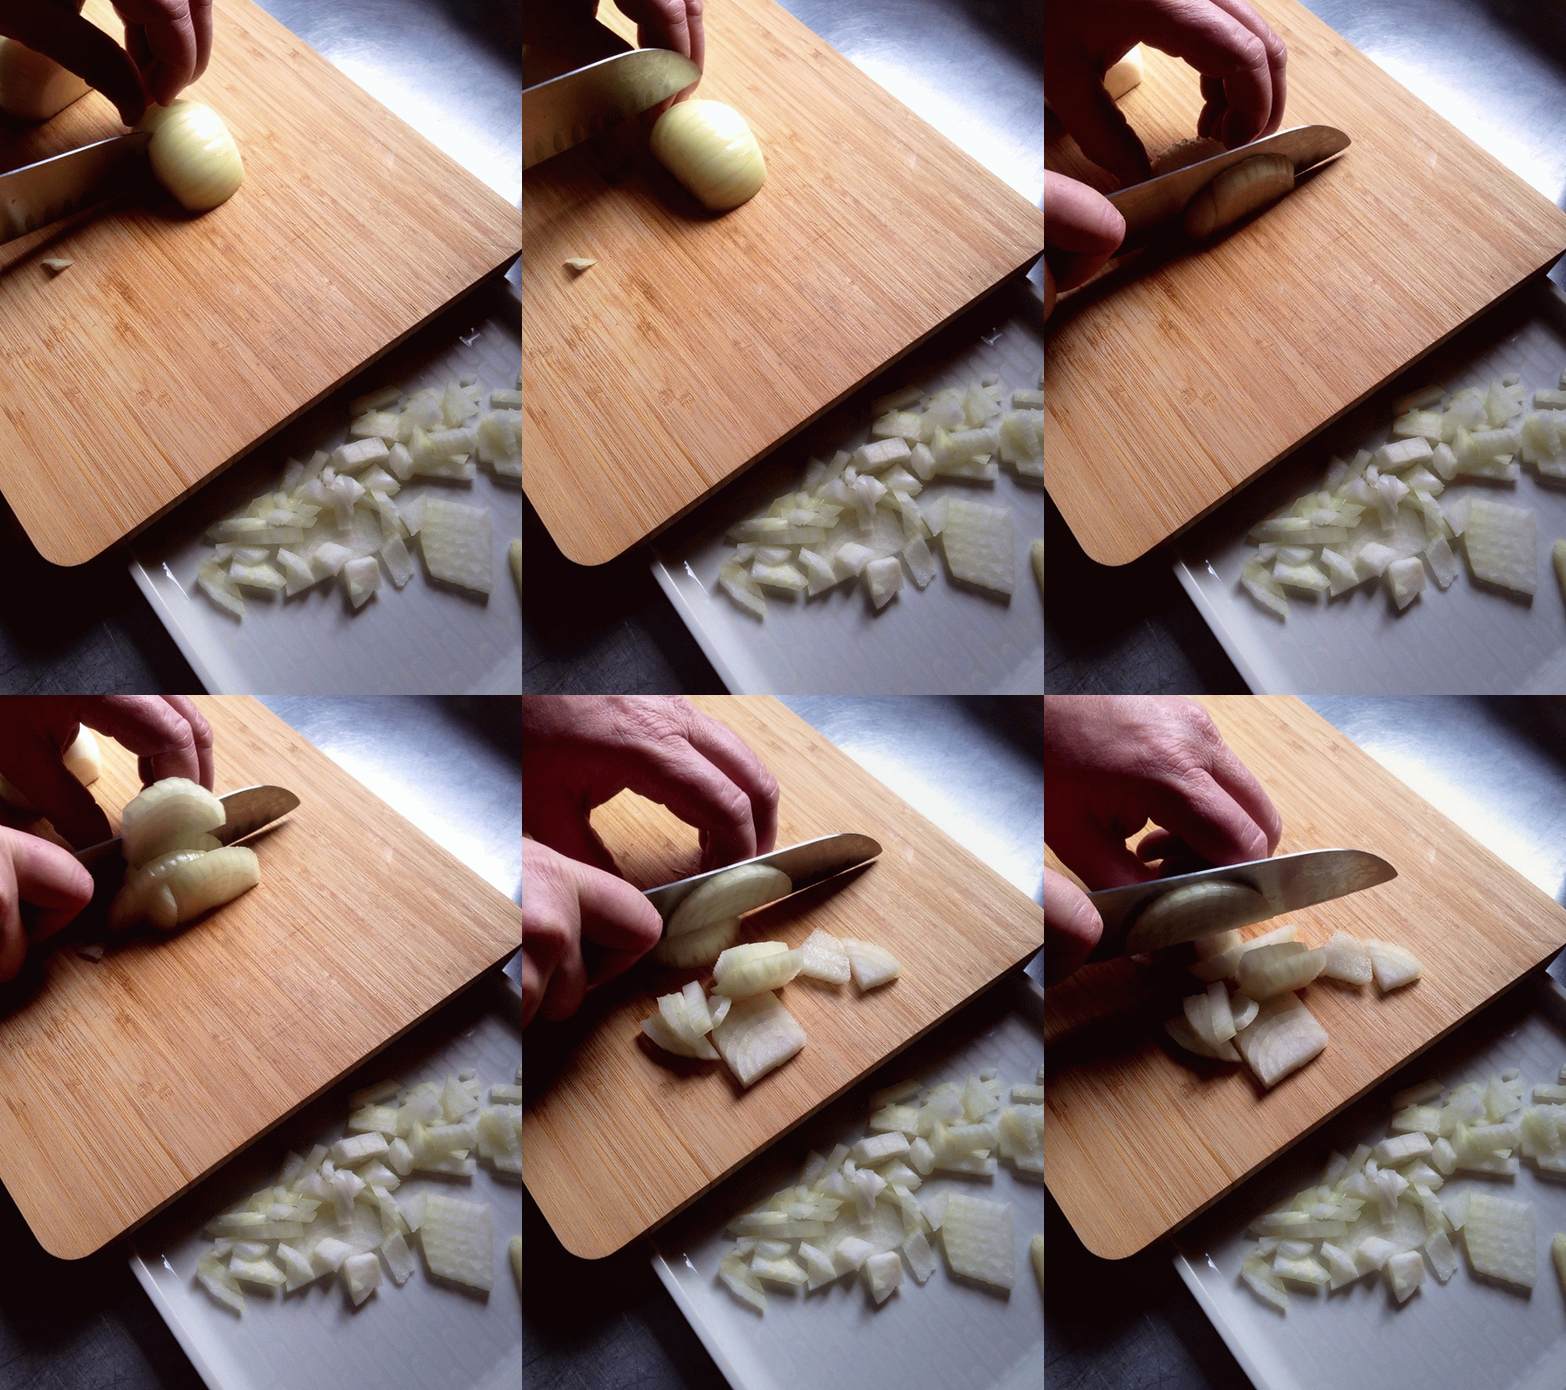
I heard that the Super Bowl is the second biggest day of eating next to Thanksgiving. That helps explain why Joe is so busy chopping onions! (It seems like he just can't stop!) This is our favorite cutting board, btw.
One of his go to recipes to make for Super Bowl Sunday is his amazing Persian Infused Spicy Beef Nachos. His unique blend of spices helps to give these nachos a flavorful advantage over your everyday loaded nachos appetizers.
So enough with the pre-game show, let's get on with the recipe for Persian-influenced Spicy Beef Nachos. Yes, these nachos are not your typical Mexican-style but have more of a middle eastern flavor.
I can't proceed without sharing Joe's passion for quality meat. Every week, he drives across Cape to go to his favorite butcher at Peterson's Market in Yarmouth Port. We live practically next door to a large super chain supermarket, which is convenient, but you can definitely taste the difference, hence the long trip to Peterson's. So get some nice, lean ground beef, a couple of sweet (Vidalia if possible) onions, paprika, mustard powder, curry powder, chili powder, allspice, and cinnamon...oh, and don't forget the garlic. I don't think Joe makes anything without garlic. I've even found garlic cloves in the washing machine after doing the laundry...that's another story...Get out a sharp knife and start chopping. Make sure you have sour cream and salsa on hand and my favorite, guacamole.
Want to make something fun for the big game? Joe's had Pigs-in-a-Blanket on the brain lately, but wasn't getting much in the way of feedback from the peanut gallery. What's a good chef to do? Kick it up a notch with Pigs-in-a-Pretzel. We enthusiastically cheered for home made Pretzel Dogs and you can watch him make them in this fun Pretzel Dog video.
As you can see, making the dough is a pretty simple process...
Then it's just a matter of letting the dough rise a bit, then wrapping your dogs...
After giving your dogs a little water bath, salt them then pop them in the oven for about 10-15 minutes.
The fun of making Pretzel Dogs is nothing when compared to the faces of your game-day guests when presented with a platter brimming with Pretzel Dogs. Joe made a great Loaded Spicy Beef Nacho platter to go with our Pretzel Dogs. Stay tuned for that recipe!
1. Combine flour, salt, sugar, yeast and 1 cup water by hand or with a mixer.
2. Knead dough for about 5 minutes.
3. Lightly flour dough and allow it to rest for about 30 minutes.
4. Stretch out dough a bit, then with a bench knife cut into 8 finger-sized pieces.
5. Roll your dough pieces out until they are about 8" long.
6. Beginning at the end of an uncooked hot dog, wrap one dough 'snake' around each hot dog.
7. Let the wrapped hot dogs rest a bit in a baking dish while you prepare a hot water bath.
8. Dissolve baking soda in one cup of boiling water.
9. Pour water over dogs, then transfer to a sheet pan and sprinkle with salt.
10. Bake for 10-15 minutes.
The Chatham Bakery & Cafe, located just off the beaten path on Crowell Rd, was my requested Mother's Day breakfast destination. It took little persuasion for such a special occasion.
While drooling for several minutes in front of their luscious cases, I took the reins and said, "We'll be needing a box today," which we proceeded to fill with a Sweet Cheese Danish, a Half Moon (childhood favorite), a Butter Croissant, a Chocolate Covered Custard Cream Donut, a Lemon Curd Filled Donut, a Raspberry Filled Donut, and something I have never tried before, but was recommended by the friendly clerk, a TIGER TAIL--more on that next.
I must also note that another reason I chose the Chatham Bakery for my Mother's Day breakfast outing is their featured coffee brand, my favorite, The Art of Roasting. So, on to the TIGER TAIL:
Please excuse the fact that I was unable to photograph it in its entirety, but I really couldn't wait to try the Tiger Tail since it's so special that it is only made on Sundays. It. Was. Ethereal. I have to admit, I wouldn't have chosen it on looks alone. I like little glam and glitz, and a little frosting never turns me away, so to taste what just appeared as a 10 " long braided piece of dough was a sublime surprise, and not just because there is a hidden chocolate ribbon wrapping its way within the heavenly light yet moist donut. I WILL be back next Sunday...maybe every Sunday.
As you can see the delicacies dwindled quickly, but we were able to save a few for later. The Chatham Bakery's fresh made donuts are beyond compare. We especially loved the lemon and raspberry filled donuts.
Nothing brightens a rainy day like a trip to the Chatham Bakery Cafe! And their gardens and ocean wave privets, complete with shark fin (can you see it above my daughter's head?) are a spectacle no matter what the weather!
Grab 2 pints of blueberries and get ready to wrap your mouth around some old fashioned-summertime goodness!
The LaBelle family loves Blueberry Buckle. Every July 4th, they actually compete to see who can bake the best Buckle. And if the matriarch doesn't get every in-law's vote, watch out...but we won't travel down that road. Never-the-less, in the spirit of the Battle for the Best Buckle, this Buckleybelieves she can deliver a knock-out with the best Blueberry Buckle recipe. Click here for the printable recipe.
You'll need 2 pints of fresh blueberries. Rinse, sort, and pick off any stems.
If you'd like to pick your own blueberries, a great spot is Hokum Rock Blueberry Farm in Dennis. They're usually open around mid-July. I don't have a lot of extra time for picking blueberries or baking during the height of blueberry season, so I like to buckle-down: I measure out multiple Buckles at once, label and package them so that I can throw another Buckle together on-the-fly when called for in a few days time. And it will be called for. It's very easy to become Buckle-obsessed...
Creaming together 1/2 sticks of butter with sugar, salt, and a little zest from a lemon gives this batter a thick, creamy consistency, just right wrapping around all those blueberries.
Spread your Buckle batter into a 9" cake pan then sprinkle your streusel mixture evenly across the top.
Bake in a 350 degree oven for about an hour until a toothpick inserted in the center comes out clean.
It will come out of the pan easily, especially if you go around the edge with a paring knife before you try turning it over.
Serve it with coffee for breakfast, and enjoy later as dessert with a little whipped cream or ice cream.
And if you still can't get your fill of fresh blueberries, try the famous Jordan Marsh Blueberry Muffin recipe here! Happy Blueberry Season!




.jpg)


